Set up Gmail OAuth authentication for use with Hesk
This guide works with Hesk version 3.4.0 and newer. To use OAuth, please upgrade to the latest version of Hesk.
Setting up OAuth authentication requires a bit of work and configuration; please be patient.
Unless you are a Google Workspaces user or plan to verify (Publish) your help desk application on Google, note that OAuth refresh tokens will expire every 7 days in Google. In this case, you may want to set up an App Password instead and use Basic authentication.
What you will need:
- a Hesk administrator account,
- a Google account,
- your Google mail (Gmail) account must have IMAP enabled to allow fetching emails,
- cURL support enabled in your PHP (check with your hosting company)
Part 1: prepare Hesk
- login into your Hesk admin panel with an administrator account
- go to Hesk > Admin > Tools > OAuth Providers
- click the New Provider button
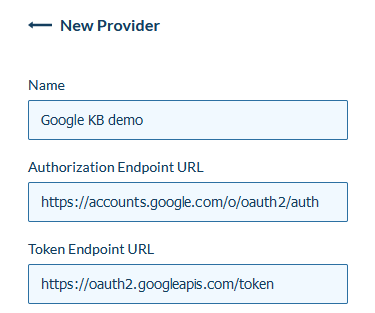
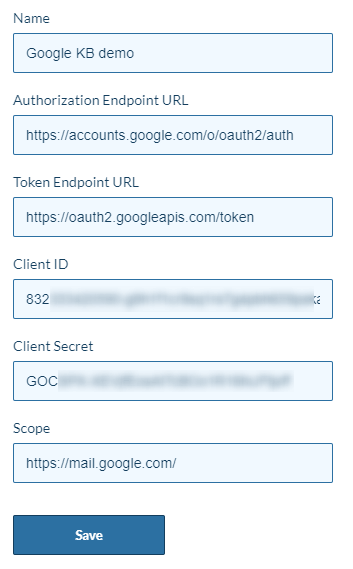
- give the provider a descriptive name, for example, "Google"
- into the Authorization Endpoint URL field, enter:
https://accounts.google.com/o/oauth2/auth - into the Token Endpoint URL field, enter:
https://oauth2.googleapis.com/token
- keep the form open and continue with the registration steps below in a new browser tab or window
Part 2: register Hesk
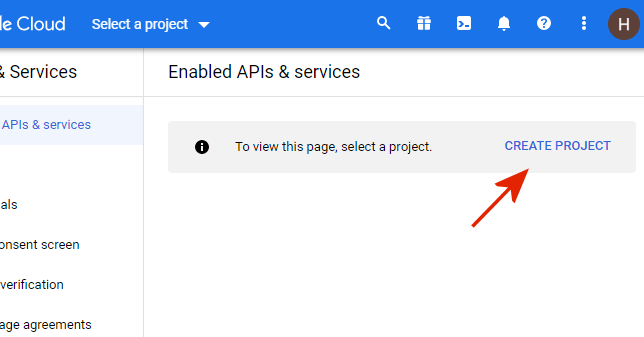
- Open the Google API Console.
- on the Enabled APIs & services page, click the CREATE PROJECT link
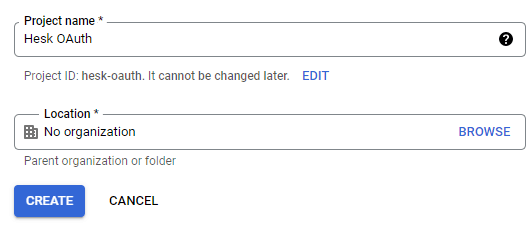
- give the application a name, for example, Hesk OAuth or Help desk or something that will help you recognize it, then click the CREATE button.
- when the project is created, click the + ENABLE APIS AND SERVICES link

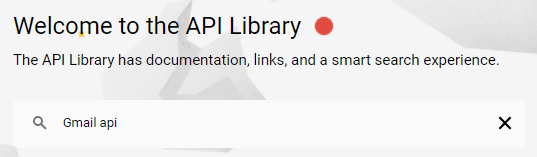
- in the search box, search for Gmail api
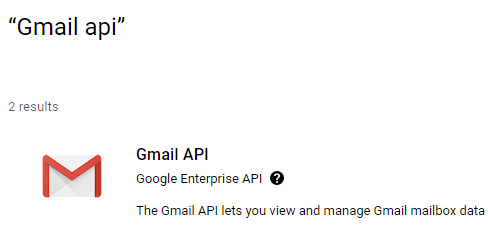
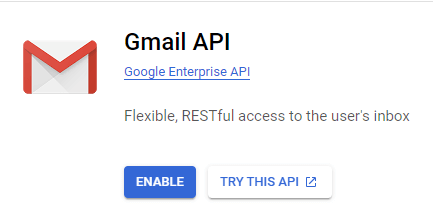
- select the Gmail API from the list and click the ENABLE button
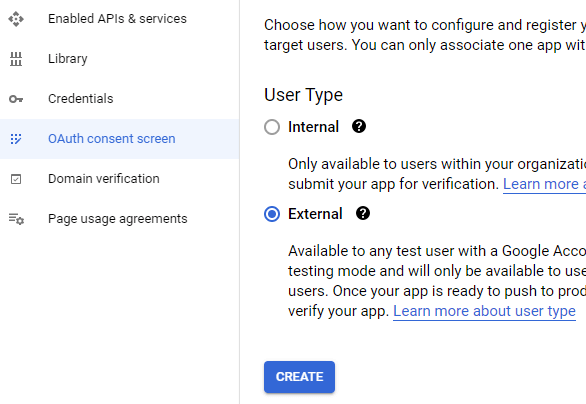
- open the OAuth consent screen, select desired user type, and click CREATE
- enter your help desk details (App Name, User support email, Developer email) and click SAVE AND CONTINUE
- on the next Scopes sub-page, click ADD OR REMOVE SCOPES
- in the filters box, type in Gmail API and select it - the one with the scope set to https://mail.google.com/
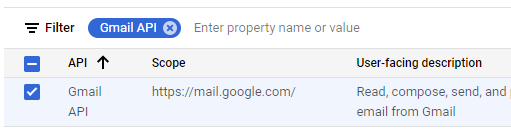
- click the UPDATE button at the bottom to add the Gmail API scope
- at the bottom of the app registration page, click SAVE AND CONTINUE

- on the Test users page, click + ADD USERS, then select the email account you will use with Hesk and add it.
When all the users you need are added (likey just the one you will use to send/fetch emails in Hesk, or maybe another test one), click SAVE AND CONTINUE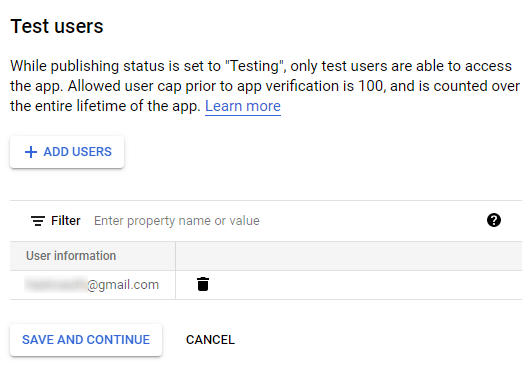
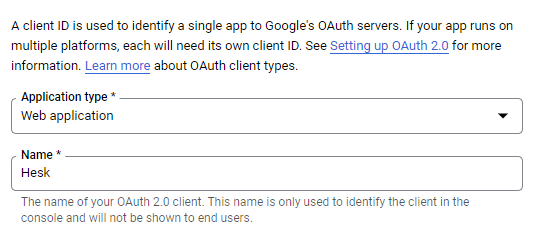
- now open the Credentials page and click + CREATE CREDENTIALS, and select OAuth Client ID

- under Application type select Web application, and give it a name
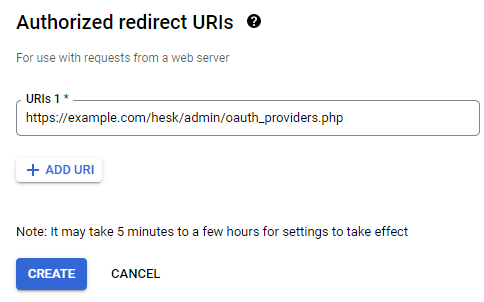
- under Authorized redirect URIs click ADD URI and enter your enter the full URL address of your Hesk oauth_providers.php file, for example:
https://example.com/hesk/admin/oauth_providers.php
Remember, this file resides inside the Hesk's /admin directory, so if you renamed the admin directory, make sure to set the correct Redirect URI!
It is very important to enter the correct URL of your oauth_providers.php file. You can copy the URL of the Hesk OAuth Providers page from your browser address bar and paste it into the Authorized redirect URIs box at Google.
- click CREATE
- copy Your Client ID into Hesk > Tools > OAuth Providers > New Provider > Client ID field
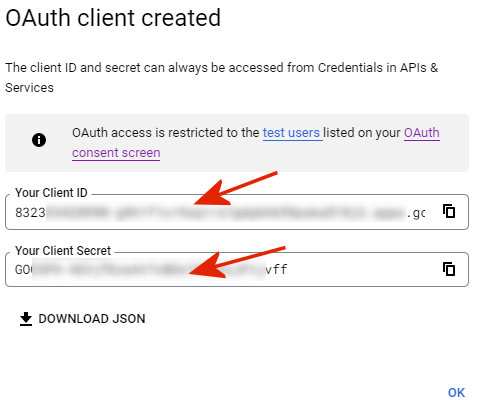
- copy Your Client Secret and paste it into Hesk > Tools > OAuth Providers > New Provider > Client Secret field
- go to your Hesk > Tools > OAuth Providers > New Provider form, and into the Scope box, enter (copy from below):
https://mail.google.com/
- your New Provider form should now be full. Click Save, and you will be redirected to Google for verification.
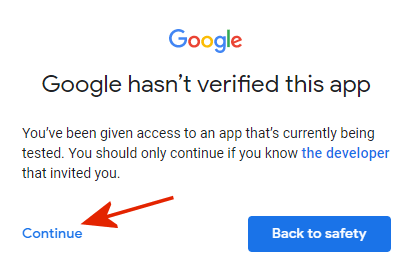
- at Google, sign in with the account you will use in Hesk for email sending and/or fetching
- on the Google hasn't verified this app page, click Continue
- click Continue on the permission request page to allow Hesk to access the mailbox and/or send emails using the selected account
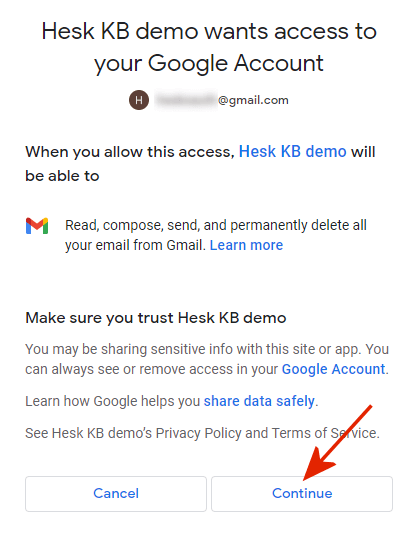
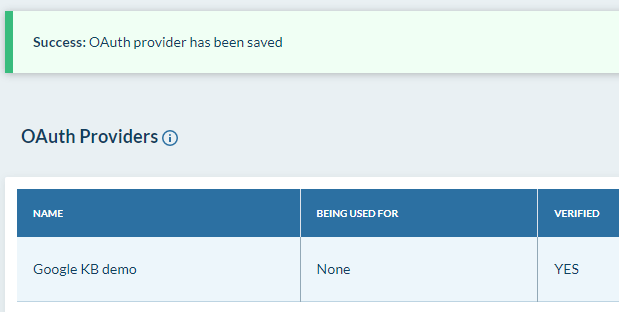
- Congratulations - your new OAuth provider is now (hopefully) registered in Hesk. You can go to the Hesk > Settings > Email page and select this OAuth provider for authentication.